Model Radio Workshop Dethermalizers Flight Timer (MRW55)
Model Radio Workshop Dethermalizers Flight Timer (MRW55) will be backordered from our supplier. Delivery will take between 3-5 working days & orders will be despatched once completed.
Description
Description
Features
10 flight times can be selected
LED indication of operating state
Powered by a single LiPo cell
LiPo battery voltage is monitored
Operation
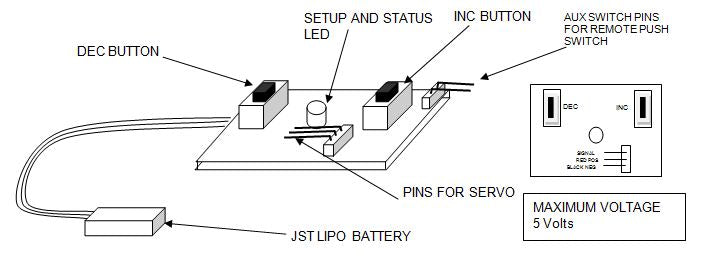
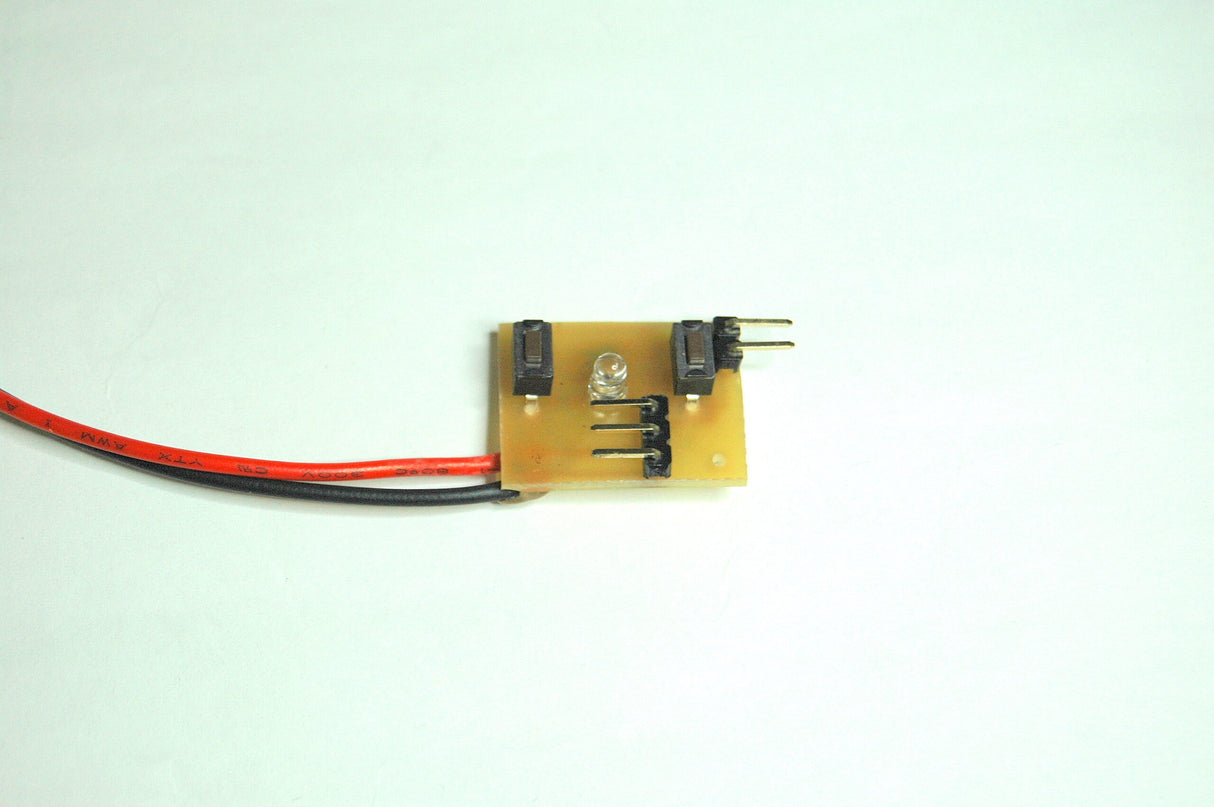
Mount the unit in the model using the hole in the PCB. Plug your servo into the 3 pin connector on the board. Connect the LiPo cell to the JST lead to power the unit.
During standby, the unit sends a 1mS pulse, repeated every 20mS to the servo. The LED flashes at about two flashes per second (fast flash).
During the timing period, the unit continues to send the 1mS pulse. The LED flashes at one flash per second (slow flash) to indicate that the timed period is active.
At the end of the timed period, the unit increases the pulse to 2mS to move the servo to the opposite end of its travel and the LED flash stops (LED off).
If the LiPo voltage falls below 3.3 volts, for safety the unit will immediately timeout and flash the LED at about one flash every 3 seconds (very slow flash). The keys are inhibited when the LiPo is flat.
To start the time period, press and release the INC key (quick press). Note that the LED flash changes to one flash per second.
To reset the unit to standby at any time, either to terminate the count during the timed period or to reset the unit following the timed period, press and hold the INC key for at least 3 seconds (long press). Note that the LED flash will return to fast when the INC key is released to confirm that the unit is in the standby condition.
If the LED goes out (no flash), the timed period has ended.
If the LED flashes very slowly, the LiPo is flat and must be recharged. The unit will not operate if the LiPo is flat. To prevent damage to the LiPo, be sure to disconnect the LiPo from the unit if the LED flash indicates that the LiPo is flat.
Timed Period Set-up
Press and hold the DEC key. The LED will light continuously and will continue to glow when the key is released. Press and hold the DEC key a second time. The LED will continuously flash in groups of ten followed by a pause. Count the flashes from the initial pause or from subsequent pauses and release the key when the required number of flashes have been seen. One flash will give the shortest delay period and ten flashes will give the longest. The relationship between the number of flashes and the timeout (flight) period is given in the list below.
Flash count 1 2 3 4 5 6 7 8 9 10
Time in seconds 15 30 60 90 120 150 180 240 300 360
As supplied, the time period is set to 15 seconds.
The unit remembers the selected time, even when switched off so set-up is only necessary when you wish to change the time
Payment & Security
Payment methods
Your payment information is processed securely. We do not store credit card details nor have access to your credit card information.


