Model Radio Workshop | SKU:
MRW37
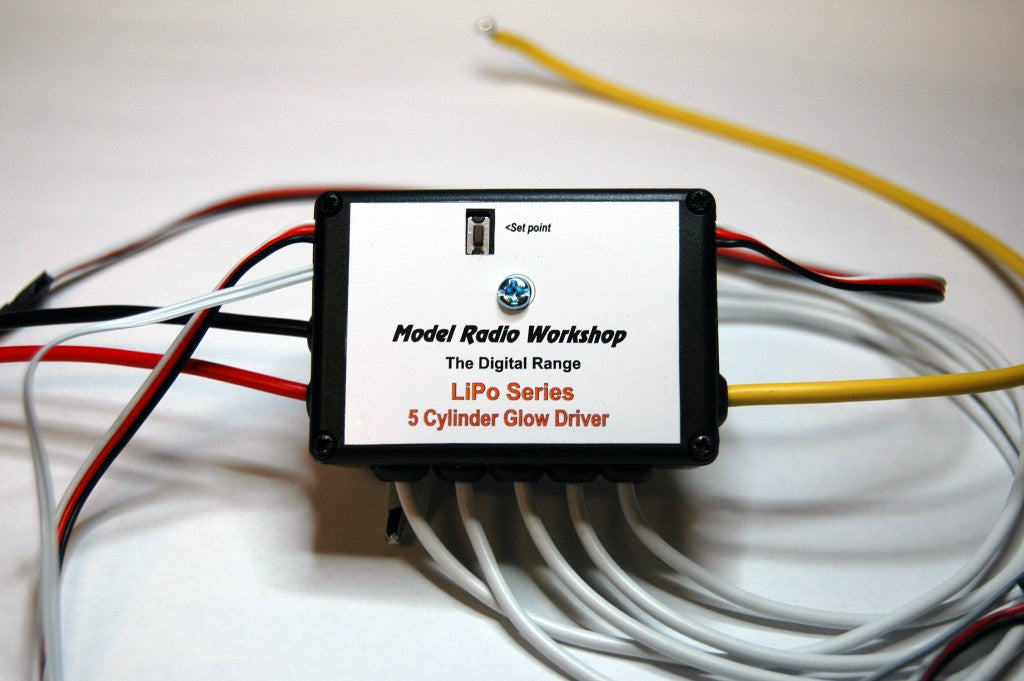
Model Radio Workshop 5 Cylinder LiPo Glow Driver
£104.00
Unit price
/
Unavailable
Tax included
Shipping calculated at checkout.
Model Radio Workshop 5 Cylinder LiPo Glow Driver will be backordered from our supplier. Delivery will take between 3-5 working days & orders will be despatched once completed.
Description
Description
The Five-Cylinder Glow Driver operates 5 glow plugs independently using a single cell LiPo or 3 cell NimH battery. The switch-on point is programmable and the unit will automatically turn the plug off below tick over. The unit comes with a glow plug connector etc and it has a remote status L.E.D to show when the plug is powered. A “Y” harness is not needed as a feed through throttle servo lead is integrated into the unit.
Features
The glow plug is enabled between the user selected tick-over and set point positions.
The operating points can be anywhere on the stick travel.
The LED lights to confirm set-up.
The LED lights when glow plugs are active.
The LED flashes and glow plugs are inhibited when the LiPo battery voltage is below 3.3 volts.
A single cell LiPo cell is used to power the glow plugs or 3 cells of NiMh.
Operation
When the throttle stick is above the set point, the glow plug is off and the LED is dark. As the throttle stick position is reduced to below the set point, the LED will glow to confirm that the glow plug is on. Below tick-over, the glow plug is off and the LED will flash at a low rate.
Set-up
Move the throttle stick to the tick-over position and press and hold the set button. The LED glows to confirm that the tick-over position has been stored. If the LED is already glowing (because of a previous setting) when the button is pressed, the LED will blink out before glowing to confirm that set-up is active. Move the throttle stick to the position where you would like the glow plug to activate. (About one eighth throttle is a good starting point.) Release the button. The LED goes out to confirm that the set-up is complete.
The tick-over and set points can be adjusted at any time by repeating the set-up instructions above.
LED Warning
There three types of warning a slow flash to indicate that the glows plugs out because you are below tick over, a medium rate flash indicating that the battery has gone flat and a rapid flash indicating that there is no battery connected. In the case of a flat LiPo. Disconnect it from the unit and recharge it using your LiPo charger. The unit will not operate with a flat LiPo.
SAFETY
Please ensure that the selection key cannot be pressed accidentally while the unit is in use.
LiPo batteries must be treated with respect. Please disconnect the LiPo battery from the unit when storing the model.
The LiPo Glow Driver is intended for use with a single LiPo cell of 4.2 volts. Do not use higher voltage LiPo packs.
Wiring
Connect the glow battery and glow clip to the Digital Glow Driver following the diagram below. Be sure to observe the correct polarity of the glow battery.
Specifications
Specifications
Payment & Security
Payment methods
Your payment information is processed securely. We do not store credit card details nor have access to your credit card information.


